How to Clean your Hiking Boots

Embarking on hiking trails and exploring the great outdoors can be exhilarating, but it often comes at the cost of dirty, mud-caked hiking boots. To clean hiking boots, start by removing excess dirt with a brush.
Use a mild soap and water solution to scrub the surface, paying attention to seams and crevices. Rinse thoroughly and air dry. Avoid heat sources. Recondition with a suitable product to maintain durability and water resistance. Regular cleaning extends the boots’ lifespan.
Whether you’ve conquered rugged terrains or trudged through muddy paths, a proper deep cleaning routine will help extend the life of your boots and ensure they’re ready for your next adventure.
Time: Maximum 15 minutes
Essentials:
- Soft brush or sponge
- Mild soap or specialized boot cleaner
- Cleaning products
- Clean water
- An old toothbrush or small brush
- Towels and newspaper
- Optional- Boot-specific waterproofing spray
AFTER YOUR HIKE: SIGNS THAT YOUR HIKING BOOTS NEED TO BE CLEANED

After a hike, your hiking boots may accumulate dirt, mud, and other debris. It’s essential to clean them regularly to maintain their performance and longevity. Here are signs that your hiking boots need to be cleaned:
1. Visible Dirt and Mud
2. Stiffness or Reduced Flexibility
3. Unpleasant Odor
4. Reduced Traction
5. Stains or Discoloration
Remember to check the manufacturer’s guidelines for cleaning your specific type of hiking boots, as different materials may require different cleaning methods.
A general idea of how to clean boots
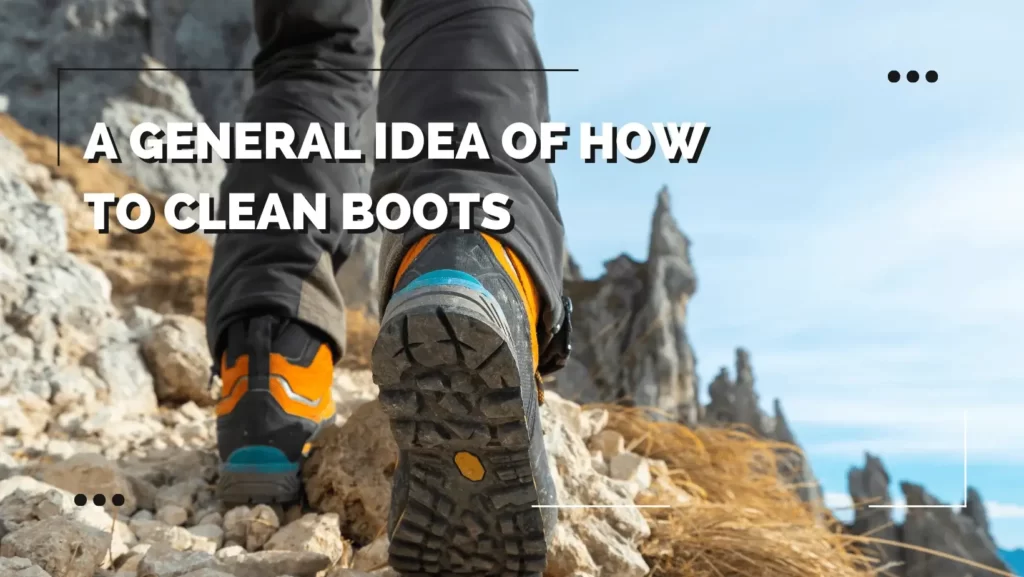
- Remove the laces
- Remove the insoles
- Remove loose dirt
- Rinse off excess mud
- Prepare the cleaning solution
- Clean the boots using boot cleaner
- Rinse your boots
- Dry your boots
- Reinsert laces and insoles
Reasons to clean your hiking boots

The value of deep cleaning your hiking boots is essential for several reasons, as it contributes to the overall maintenance and performance of the footwear. Here are some reasons justifying the need to clean your hiking boots is important:
Durability: Regular cleaning helps to remove dirt, mud, and other debris that can accelerate wear and tear on your boots. This extends the lifespan of the boots, saving you money in the long run.
Breathability: Accumulated dirt and grime can clog the pores of the boot’s materials, affecting breathability. Deep Cleaning your boots ensures that they remain breathable, allowing moisture to escape and keeping your feet dry.
Performance: Clean boots provide better traction and grip. Mud, dust, and other debris can compromise the traction of your boots, especially in slippery or uneven terrain. Cleaning the soles and treads helps maintain optimal performance.
Comfort: A clean boot is a more comfortable boot. Removing dirt and debris prevents discomfort and chafing. It also helps preserve the original shape of the boot, ensuring a proper fit and reducing the risk of blisters.
Appearance: While not a functional aspect, maintaining the appearance of your hiking boots can be important for some individuals. Clean boots look better and can give you a sense of pride in your gear.
Odor Control: Hiking boots can develop unpleasant odors over time, especially if they are not cleaned regularly. Cleaning helps eliminate dirt and bacteria that contribute to bad smells, keeping your boots fresh.
When you are back at home

9 simple steps on how to clean the insoles, outsoles, and uppers of your hiking boots. The cleaning steps are as follows:
Remove the laces: Laces can be a hindrance in your way when cleaning your hiking boots properly. First, remove the laces and soak them in any water basin or faucet with cleaning products. Clean the laces separately
Remove the Insoles: Take out the insoles from your boots to clean them separately. Shake the loose dirt from them. Use a soft brush with a mild soap and scrub them gently as harsh scrubbing can damage them.
Remove Loose Dirt: Knock your boots together or use a brush to remove loose dirt and debris from the exterior. Gently brush the entire surface of the boots, including the outsoles, uppers, and seams. Pay special attention to areas where mud or debris may be lodged, such as the grooves of the outsole or the spaces around the eyelets.
Brush the Mud: Use a soft brush or an old toothbrush to gently scrub away any dried mud or dirt from the outsoles and the seams. Start by brushing the outsoles then move on to the seams and crevices of boots.
Prepare the Cleaning Solution: Decide whether you want to use a mild soap (like dish soap) or a specialized boot cleaner. Prepare Lukewarm Clean Water. Add Soap or Cleaner. Start with a conservative amount, and you can always add more if needed. Mix Thoroughly.
Your cleaning solution is now ready for use. Make sure you use clean water.
Clean the Exterior: Dip the brush or sponge into the soapy water and scrub the exterior of the boots. Pay attention to seams, stitching, and any other areas where dirt may accumulate.
Rinse the Boots: Wet a clean cloth or sponge with lukewarm water. Ensure that it’s damp but not dripping wet. Wipe Off Soap Residue. Focus on removing any soap residue from the outsoles, uppers, seams, and other areas you’ve cleaned.
Dry your boots: Towel-dry your boots to remove excess water. Stuff the boots with newspaper to help them maintain their shape and absorb moisture from the interior. Allow your boots to air-dry naturally in a well-ventilated area. Avoid using direct heat sources, such as heaters or hair dryers, as excessive heat can damage the materials.
Reinsert laces and insoles: Once the boots are completely dry, reinsert the dry laces and insoles.
Check for Dryness: Ensure that your boots are completely dry before storing them. This may take some time, depending on the material and the ambient conditions.
Store Properly: Store your clean and dry boots in a cool, dry place. Avoid leaving them in direct sunlight or extreme temperatures.
Is cleaning leather hiking boots different?

Cleaning leather hiking boots requires a bit of care to ensure they remain durable and comfortable.
You have to perform the steps above as they are but be more careful with the touch.
Before applying the cleaning solution to the leather hiking boots, do a spot test first on a small part of the leather. Make sure it doesn’t cause discoloration or damage.
Once the boots are dry, apply a leather conditioner to keep the leather supple and prevent it from drying out or cracking.
Depending on the type of leather and the conditions in which you use your boots, consider applying a waterproofing treatment to protect them from moisture. Make sure the boots are clean and dry before applying any waterproofing product.
Also Read:
How often do you need to clean your hiking boots

The frequency of cleaning your hiking boots depends on several factors, including the type of terrain you hike in, the weather conditions, and how often you use the boots. Here are some general guidelines:
After Each Hike
Regular Cleaning
As Needed
Before Storage:
Inspect your boots regularly for signs of wear, damage, or deterioration. If you notice any issues, address them promptly to prevent further damage.
Remember that proper cleaning and maintenance not only keep your boots looking good but also contribute to their longevity and performance. Additionally, the frequency of cleaning may vary based on personal preferences and how particular you are about the appearance and condition of your hiking gear.
Signs that you need new hiking boots
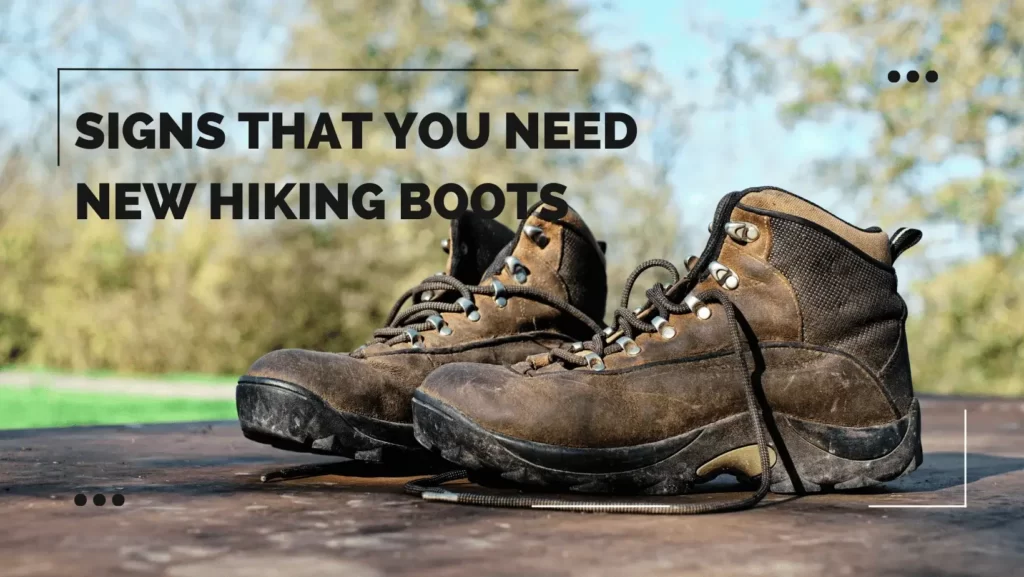
Hiking boots are essential gear for outdoor enthusiasts, and knowing when to replace them is crucial for maintaining comfort and preventing injuries. Here are some signs that indicate it might be time to replace your hiking boots:
1. Worn Out Soles
2. Reduced Support
3. Visible Damage
4. Leakage
5. Uncomfortable Fit
6. Odor and Mold
7. Excessive Weight
Keep in mind that the lifespan of hiking boots depends on factors such as usage frequency, terrain, and maintenance. Regularly cleaning and treating your boots can help extend their life. However, paying attention to these signs will help you determine when it’s time to invest in a new pair for a safer and more comfortable hiking experience.
Frequently Asked Questions: How to Clean Your Hiking Boots
How often should I clean my hiking boots?
It is recommended to clean your hiking boots after each use. Regular cleaning helps to prevent the accumulation of dirt, mud, and moisture, ensuring the longevity and performance of your boots.*
Can I use regular soap to clean my hiking boots?
It’s best to avoid harsh soaps or detergents, as they may damage the boot materials. Instead, opt for a mild detergent or specialized boot cleaner to gently remove dirt without compromising the integrity of the materials.
How do I remove stubborn stains from my hiking boots?
For tough stains, create a paste using a mild detergent and water. Apply it to the stained area with a soft brush or cloth, then gently scrub. Avoid using abrasive materials that could scratch or damage the boot surface.
Can I machine wash my hiking boots?
It’s not recommended to machine wash hiking boots, as the mechanical action and detergent can be too harsh on the materials. Hand cleaning is preferable to maintain the boots’ quality and performance.
Should I clean the inside of my hiking boots?
Yes, it’s important to clean the interior to prevent bacteria and odors. Remove the insoles and let them air out. Wipe the inside of the boots with a damp cloth, and if necessary, use a mild disinfectant or baking soda to combat odors.
Can I dry my hiking boots in direct sunlight or using a heater?
Avoid exposing your boots to direct sunlight or using artificial heat sources like heaters, as they can cause the materials to degrade. Instead, air dry your boots at room temperature, stuffing them with newspaper to absorb moisture.
Should I waterproof my hiking boots after cleaning?
Yes, it’s a good practice to reapply a waterproofing treatment after cleaning. This helps maintain the boots’ water resistance, keeping your feet dry and enhancing the overall durability of the footwear.
Can I use silicone-based sprays on my hiking boots?
Silicone-based sprays can be effective in enhancing water repellency. However, be sure to check the manufacturer’s recommendations, as some boots may have specific care instructions or restrictions on certain products.
How do I store my hiking boots after cleaning?
Store your clean and dry hiking boots in a cool, dry place away from direct sunlight. Avoid compressing them to maintain their shape, and if possible, use boot trees or stuff them with newspaper to help retain their form.
What if my hiking boots have Gore-Tex or other specialized membranes?
If your boots have a waterproof and breathable membrane, follow the manufacturer’s care instructions. Generally, use a gentle cleaner and avoid harsh chemicals that can compromise the membrane’s performance.